1. Access Your Bookings in Your Event Management Dashboard
2. Choose a Booking to Add to Your Event
1. Access Your Bookings in Your Event Management Dashboard
From your Event Management dashboard, select the "Bookings" tab on the left sidebar menu.
From your Bookings tab, you can view any Bookings you've confirmed - both Film and Talent Bookings are visible here.
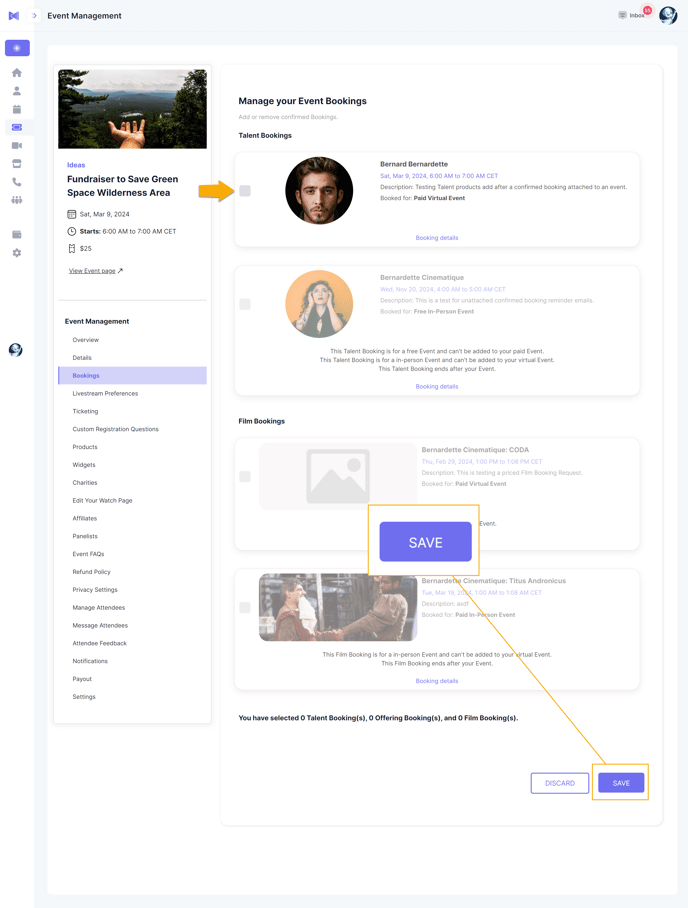
2. Choose a Booking to Add to Your Event
Select the Booking you'd like to add to your Event, and then choose "Save."

Haven't booked any Talents yet? Learn how to inquire and confirm Talent bookings here.
You can only add Bookings whose start/end dates and times coincide with your Event's start/end dates/times.
Moreover, Bookings are only available at the dates/times and under the payment/Event conditions previously set up in the initial Booking Request, as agreed upon by the Talent profile.
3. Setting Up Your Event
Plan your Event so that your chosen Booking works within it.
Find out how to create the Event of your choice:
4. Remove a Booking
To remove your Booking, navigate to your Event Management dashboard and select the "Bookings" tab on the left sidebar menu.
Then, un-check the box next to your Booking and save your settings.