Creating your 1:1 Calls is simple and just takes a few steps.
- Getting started
- Add details for your 1:1 Call
- Connect your Google Calendar
- Select meeting platform
- Publish & review your Booking page
- Manage & update your 1:1 Call
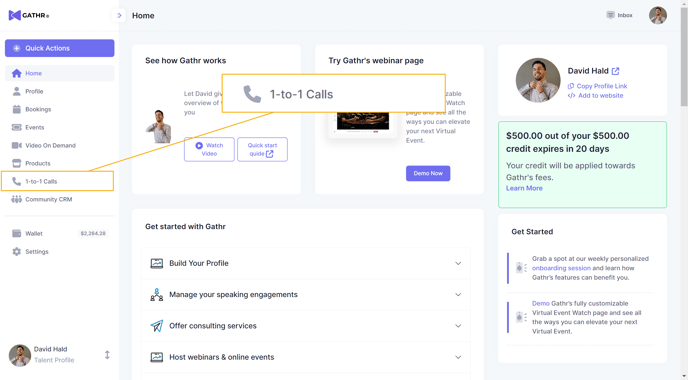
1. Getting started
From your Dashboard, select "1-to-1 Calls" in the left sidebar menu.
2. Add details for your 1:1 Call
Here you fill in all the specifics about your session, scheduling, timing, price, and more.
- Service Name - Use a descriptive title that states what your client will accomplish or how they will benefit from your session. For example, "Conquering Your Fears: A Personalized Action Plan," "The Current State of Nuclear Energy: Your Questions Answered," or "Free Discovery Call - Learn more about the Self-Marketers' Collective."
- Public URL - Customize your URL for a more shareable link, such as, "gathr.com/call/introductory_consultation" or "gathr.com/call/distribution_strategy_consultation."
- Description - Crafting a compelling description for your 1-to-1 consultations is crucial. With your audience's needs in mind, highlight the concrete benefits your 1:1 Call offers them. Next, describe your approach, emphasizing personalization, and outline the key parts of your consultations for transparency. Keep your description concise and engaging. Finish up with a clear call to action such as, "Book today!" or "What are you waiting for? Book a session today!"
- Add a Note - Provide consultation instructions, a link to your website, or any other relevant resources or information for your clients, and we'll include it in their email communications. Only clients who book a call with you will see this note.
- Duration - How long is your session?
- Hide service from your profile page - Toggle this on if you'd like to stop offering a 1:1 Call at any time.
- Pricing - Set your session price. For free sessions, set the price to $0.
- Availability - Set when you are available for this 1:1 Call. You can add multiple times per day, for example in the morning and in the afternoon, or you can mark entire days unavailable, such as weekend days.

3. Connect your Google Calendar
Integrate with your personal or professional Google Calendar to make sure you never get double booked and that your 1-to-1 Calls always appear on your Google Calendar automatically.
When you select "Link Google Calendar," you'll be redirected to a Google page where you'll be asked to choose an account, enter your login information, and approve of the integration.
If you have multiple Google Calendars under the linked Google account, you can select which ones to include once you connect to your Google account.
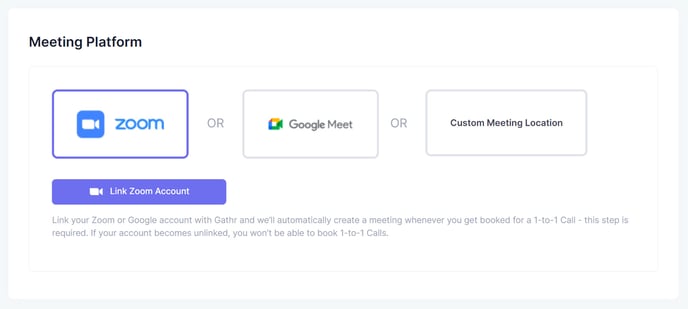
4. Select meeting platform
Choose from Zoom or Google Meet to seamlessly create a meeting with every new 1:1 Call booking, or set a custom location, and we'll automatically add it to the Google Calendar Event that is instantly created when your 1-to-1 Call is booked.
To host 1:1 Calls with Google Meet or Zoom, you must connect your Google or Zoom account with Gathr.
Zoom
For Zoom, select "Link Zoom Account."
Google Meet
For Google Meet, select "Connect Google Calendar to use Google Meet."
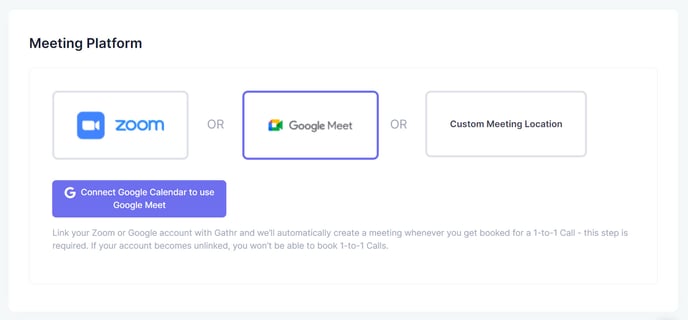
Depending on your selection, you'll see a button to "Link Zoom Account" or "Connect Google Calendar"
Note that you must link your Google Calendar in order to use Google Meet.
Whichever option you choose, follow the instructions by entering your Zoom/Google login credentials, and you'll then be redirected back to your 1:1 Calls setup page upon successful linking.
Custom Meeting Location
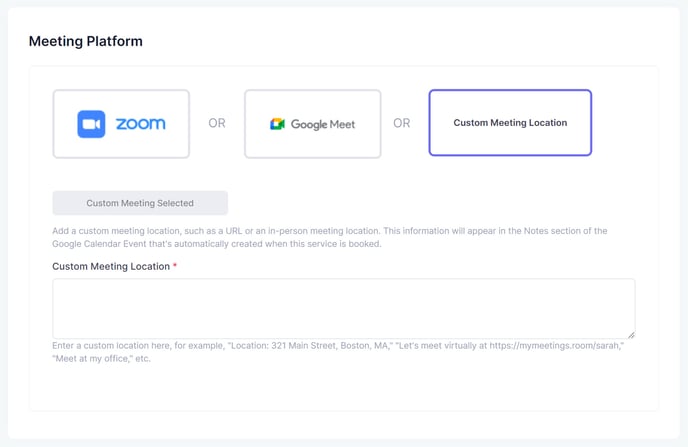
To set a personalized meeting location, be it an in-person location, a virtual meeting link, or any other place, select Custom Meeting Location. Then, add your custom location in the text field.
Example custom meeting locations could include:
- "123 Main St, Boston, MA"
- "https://3rdPartyMeetingSoftware.com/meeting" or any other URL
- "Meet me at my office"
Once your call gets booked, the automatically created Google Calendar Event will include your custom location in the "Notes" section. Additionally, your custom location is included in Gathr's confirmation email sent to purchasers upon booking your 1-to-1 call.
Once you've made your selection, save your settings.
Great! Now you can host 1:1 Calls 👌
5. Publish & review your Booking page
Save changes for your new 1:1 Call and your Booking page is ready to go.
Once you save your settings, you'll land on your 1:1 Preferences page, displaying all the settings you've just saved.
You can not only edit any of your settings from here, but also access your now public Booking page by selecting the URL itself next to "Public URL":
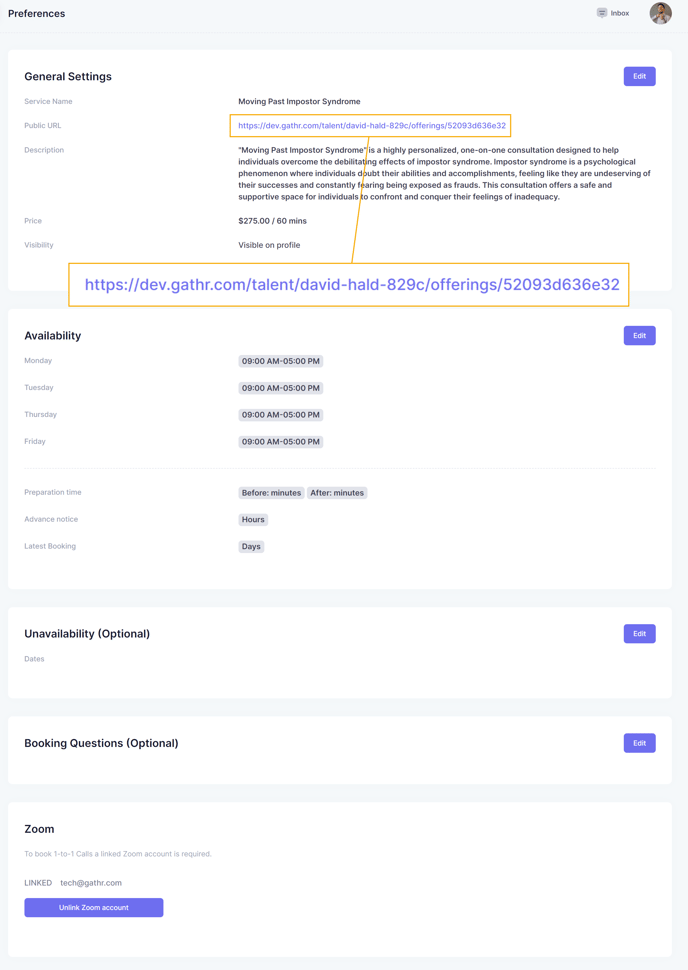
Double-check your public Booking page to check your description, availability, and pricing to make sure everything looks good.
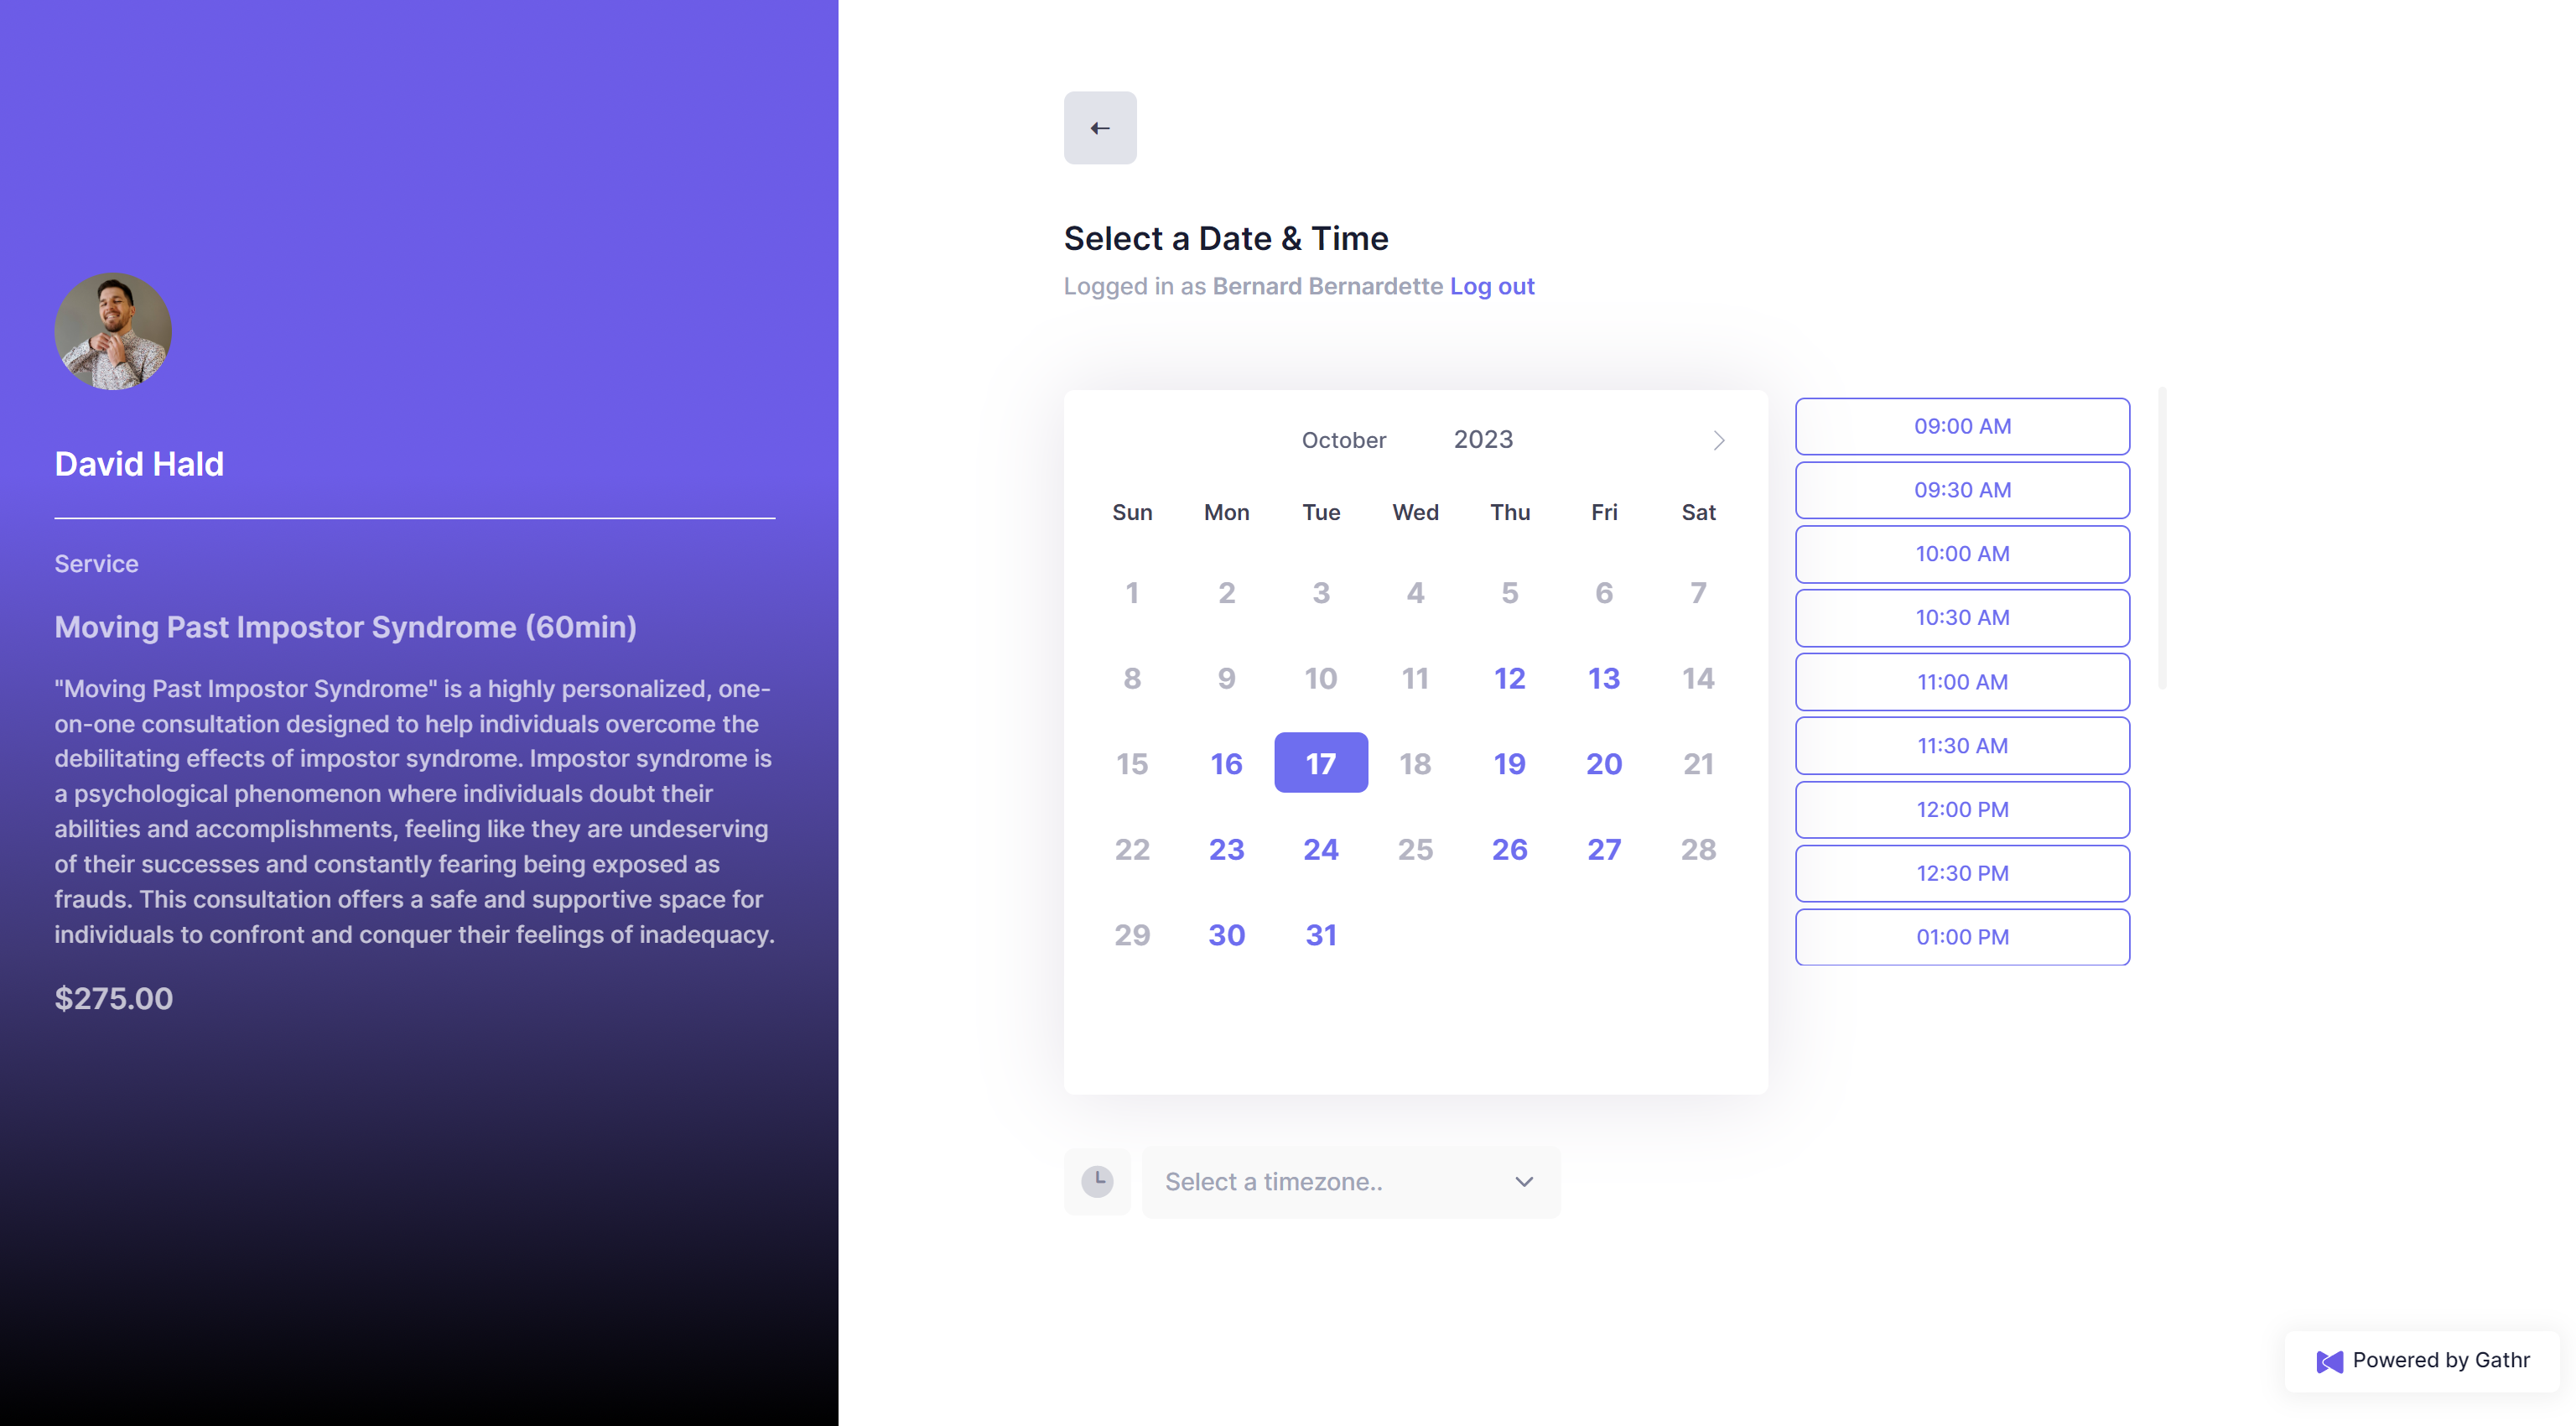
Now you're ready to start sharing your Booking page URL and encouraging your community to reserve their personalized 1:1 Call with you today.
All your 1:1 Calls also appear on your Talent profile page, so you can get booked directly from your profile, too.
6. Manage & update your 1:1 Call
In addition to the above settings, you can make further adjustments to your 1:1 Call(s) at any time from your 1:1 Call Management dashboard.
From the left-side nav bar, select "1-to-1 Calls," then choose "Services." From the "Services" tab, you can choose to "edit" your Call(s) in the right-side Actions drop-down menu - this will bring you to your 1:1 Call Management dashboard.
From here, you can access additional settings for your 1:1 Calls beyond the initial configuration from 1:1 Call creation.
Availability
In addition to setting specific hours for certain days of the week, you can also customize your required preparation time before & after your Calls, Advance notice period, rolling bookable date range, Google Calendar selection, unavailable dates, custom questions, and email notification settings in the Availability section.
- Before call - Set your required preparation time before each session and Gathr will automatically account for this in the time slots offered on your Booking page. If you set your before call time to 15 minutes, you will always have 15 minutes before a booking starts, even if you were booked for back-to-back sessions. For example, if you get booked for a session from 10:30-11:00 and your before call time is set to 15 minutes, the next bookable time slot would be 11:15 to account for your required preparation time.
- After call - You can also set your required follow-up time after each session and Gathr will automatically account for this in the time slots offered on your Booking page. If you set your after call time to 30 minutes, you will always have 30 minutes after a booking starts, even if you were booked for back-to-back sessions. For example, if you get booked for a session from 11:15-11:45 and your after call time is set to 30 minutes, the next bookable time slot would be 12:15 to account for your required after call follow-up time.
- Advance notice - Ensure you don't get booked at the last minute by setting your required advance notice period. Set a number of hours, and your bookable time slots will not be available until after your advance notice period. For example, if a Client views your Booking page at 10:00 on Monday, and you've set your advance notice to 48 hours, the first bookable slot on your Booking page would be 10:00 on Wednesday.
- Date range - Set a rolling number of days during which your consultation is available, and Clients will only see available slots through the date range you've set. For example, if you set your date range to 15 days and a Client visits your Booking Page on March 1, you will only be bookable through March 16. Since this is a rolling limit, if the same Client checks your Booking page again on March 2, they would see your bookable slots through March 17, and so on.
- Selected Google Calendars - If you've connected your Google Calendar, any calendars associated with that connected Google account will appear here. You can select any or all calendars, and Gathr will automatically block out your bookable slots according to all included calendar events existing on your selected calendar(s).
How to update your time zone
You can update your time zone for all consultations in your profile settings:
- Go to "Bookings" in the left navigation bar.
- Select "Availability" and choose "Edit" next to "Timezone."
Updating your time zone adjusts how your availability aligns with your local time but doesn’t change your set hours. Clients will always see available slots in their own time zones.
For example, if your availability is 12:00–2:00 Eastern Time and you switch to Pacific Time, your availability shifts to 12:00–2:00 Pacific Time. Clients in Eastern Time would see it as 3:00–5:00 while Pacific Time Clients would see 12:00-2:00.
Unavailability
Add single dates during which you will not be bookable.
You can add as many single unavailable dates as you like.
Custom Questions
Enhance your understanding of your Clients by adding up to four custom questions to the checkout process. Choose from a variety of question formats and decide whether to make them optional or required.
Custom Questions and Clients' responses will appear in the auto-generated Google Calendar Event when a Call gets booked.
Email Notifications
Easily customize the email notifications you receive about your consultation.
Gathr automatically sends out reminders for your consultations at these times:
- 24 hours before your consultation
- 1 hour before your consultation
You can toggle one or both of these email notifcations on/off at any time.